Chocolate Walnut Toffee Bars
September 5th, 2009 | 18 Comments
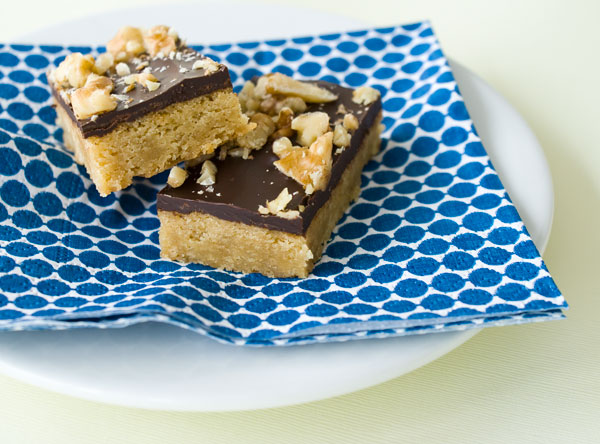
If there’s one thing that makes ladies forget their manners, it’s free clothes. If there’s another, it’s chocolate. Put them in a room together, and you’ve got yourself an every-woman-for-herself swap party.
My friend, Amy, decided to get all us chicks together under one roof to celebrate, oh, just being our great womanly selves. And our love of fashion. She offered a spread of dainty lady foods and the promise of a new wardrobe. All we had to do was clean out our closets of items that have lost their luster to us, or in my case, items that stopped fitting after my last 2 or 3 posts. We’d haul them over, eat our finger sandwiches and unload the goods in a giant pile on the bed. The bartering could begin.
Early on, each of us got a chance to sniff out the inventory. We circled the loot like pumas closing in on their prey. Vegas has never seen so many poker faces. No one wanted to reveal their most coveted items for fear of stirring up “suggestion envy”. This is when an item suddenly becomes enticing to you simply because someone else wants it.
I played it cool, sometimes even going so far as to turn my back to the pile. My face said, “Meh, I see dozens of clothes for the taking all the time, yawn.” But my adrenaline was up. I broke out the toffee bars. I purposefully baked them for this occasion knowing I’d need to distract. If I could lull everyone into a false sense of security, maybe that Milly cami could be mine.
While everyone was munching away, a kind of psychic pull washed over me without warning. Under the ocean of fabric, there was a blue glimmer calling out to me. I had to obey and subtly drifted over to extract the object. With a little coaxing, it flowed out free like a graceful swan and I discovered it was a lovely printed scarf. It’s silky disposition made its way through the belt loops of my jeans before I knew what happened. And what do you know? It was right at home, complementing what I was already wearing — a plain ensemble made up of an aqua tee and denim. This little scarf woke up the outfit with it’s big texture and color.
The ladies looked up and I felt heat sting my cheeks. It was as if they caught me rummaging through their purse. I half expected them to break out the tar and feathers but they all smiled and told me to spin around. “What a perfect accessory, for you, Irina,” came the consensus, “you should just go ahead and keep it.” Huh? Their generosity took me aback. Here they were, selflessly foregoing the item simply because they knew I liked it. A wave of endearment came over me. I offered them another toffee bar.
***
Add-ons:
1) I have a couple of small upgrades to this site. Now there’s a recipe index for easy access of recipes that you just can’t get out of your mind. Also, good ol’ Scott finally worked out the PRINT button, so if you don’t want to haul your laptop into the kitchen, you can simply print the page.
2) I do a lot of baking and rip through parchment paper like I grow my own trees. I can’t stand those little rolls sold at the supermarket that make me feel like I have to ration every inch. So I started ordering parchment in bulk. You can get sheet pan-sized ones or round cake-shaped ones. It’s so much cheaper, too.
Parchment Paper Sheets – 15 × 21
Regency Parchment Paper Circles, 10-inch, pack of 24
Chocolate Walnut Toffee Bars
Makes one 18 x 13 sheet pan which can be cut into whatever sized bar cookie you want. I got about 60 mini bars out of it.
4 sticks (453 g) unsalted butter
1 box (453 g) light brown sugar
2 egg yolks
4 cups (560 g) all purpose flour
1 lb (453 g) dark chocolate, chopped fine
2 cups (280 g) chopped walnuts
1. Preheat the oven to 350 degrees F. All gathered here today:
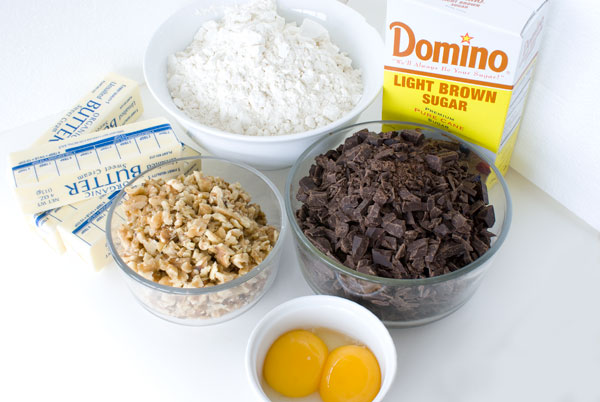
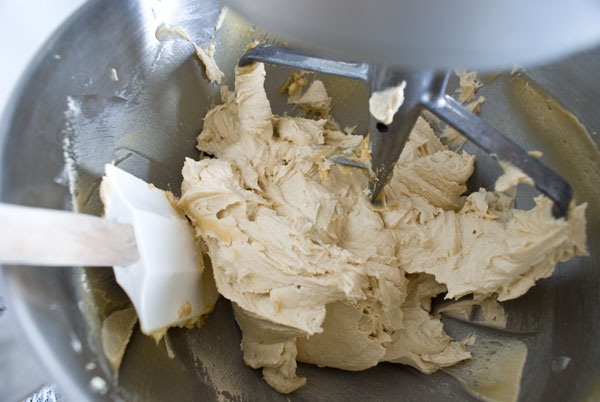
2. Using a tabletop or a handheld mixer, cream the butter and brown sugar on medium speed until smooth. We’re not trying to beat air into it, just to get it smooth. (You can even do this recipe with a bowl and a spatula, like our ancestors, who we know gobbled endless toffee bars.)
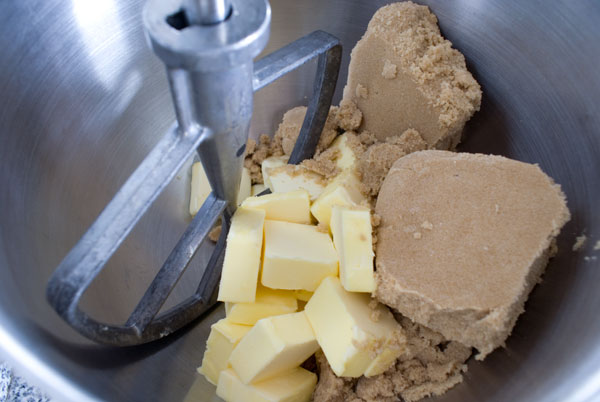
Scrape down the bowl or else.
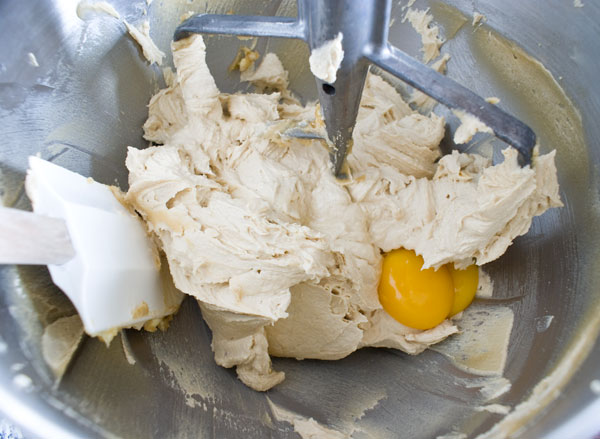
3. Toss in both yolks (heh) and mix those babies in.
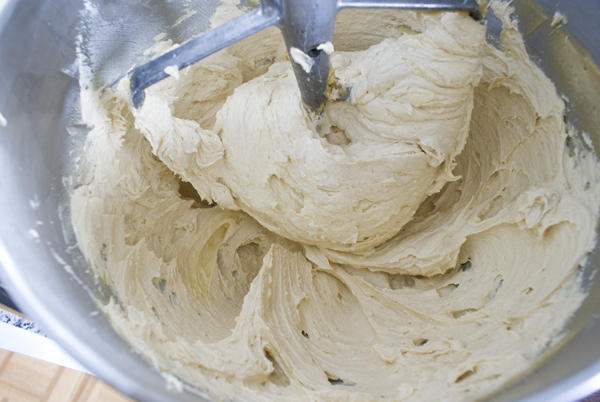
4. Then pop in the flour.
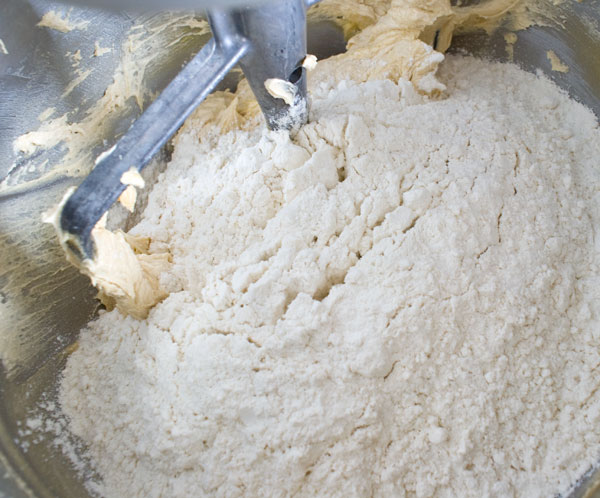
We’re left with kind of a stiff batter.
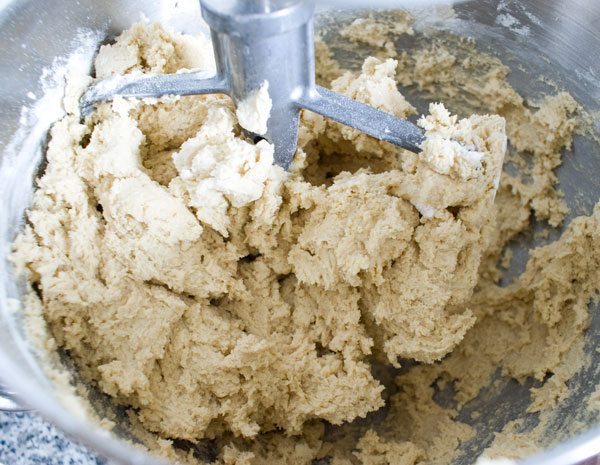
So far easy, right?
5. Turn this batter out onto a parchment-lined baking sheet. I used 13 x 18.
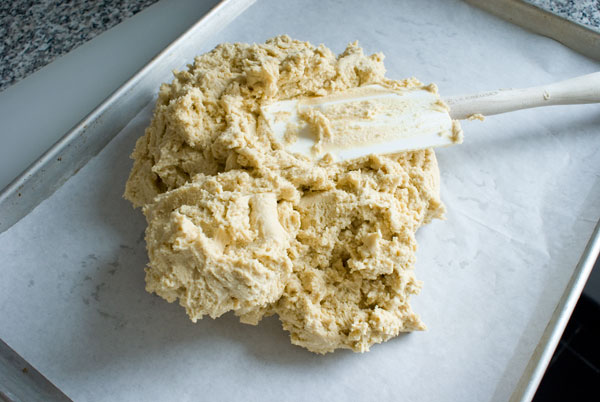
Smear, cajole, and press this batter to the edges.
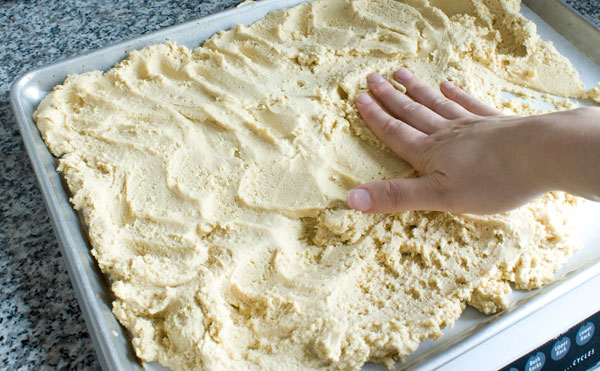
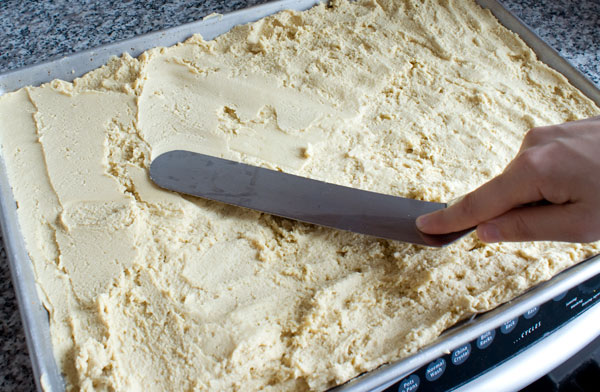
Then use an offset spatula to smooth it out to an even thickness.
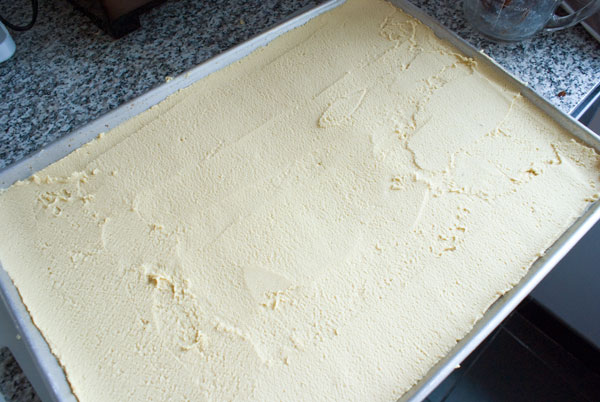
6. Bake in your preheated 350 degree F oven until it turns an even, golden brown color, about 25-30 minutes.
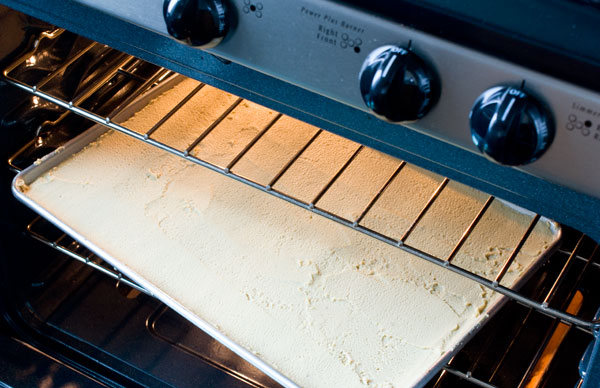
All baked. Don’t mind the fact that it looks like E.T.
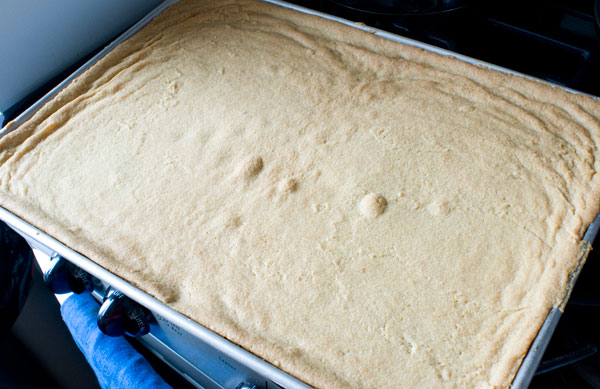
7. Immediately after it comes out of the oven, sprinkle the chocolate over the top.
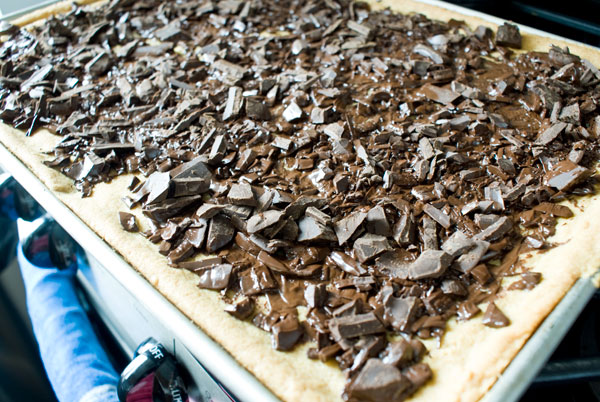
TURN OFF THE OVEN and slide the sheet pan into the turned off oven for exactly 3 minutes. The residual heat will melt the chocolate.
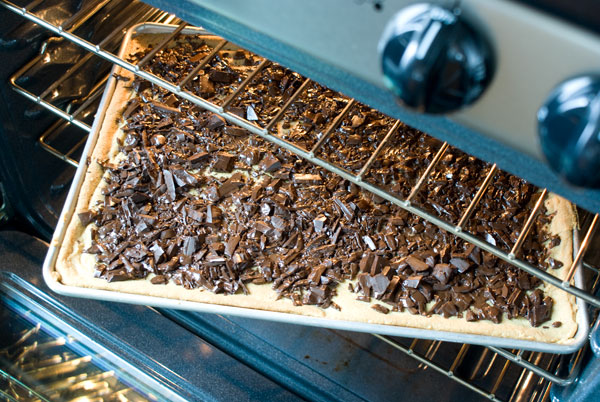
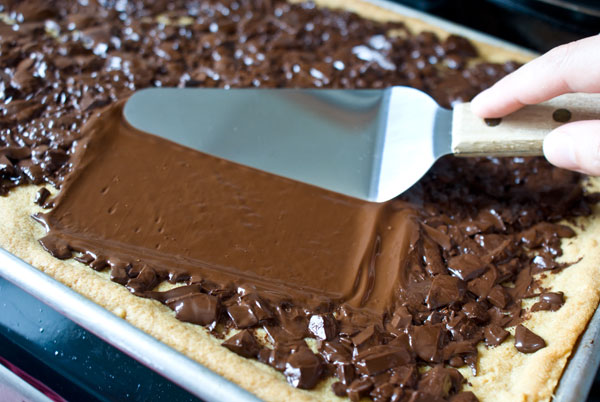
8. Pull the sheet pan out. Chocolate tends to retain its shape even when it’s melted. Smooth out the top and you’ll see that it is, indeed, melted.
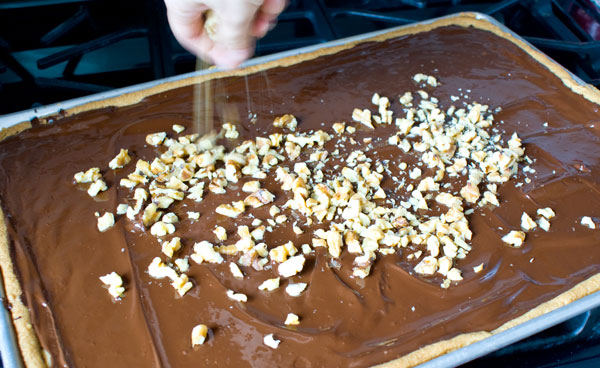
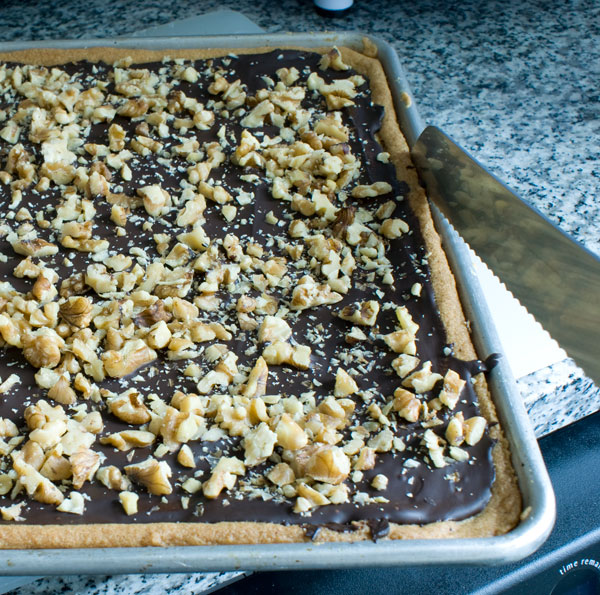
9. Sprinkle the whole surface with a generous coating of nuts.
Then refrigerate this tray until it’s cooled and the chocolate has hardened, about 1 hour.
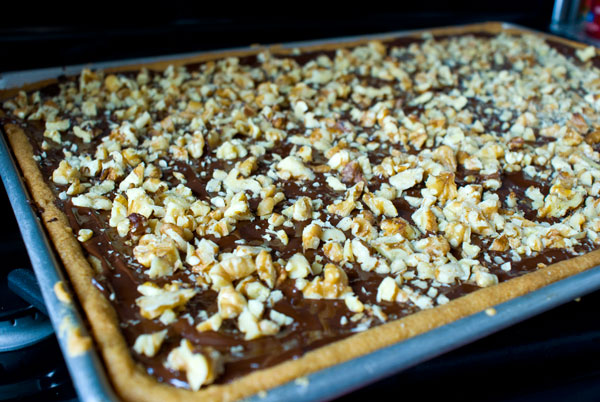
10. All set up. Run a knife around the perimeter of the sheetpan to loosen the cookie block.
Gently pry the block out of the sheet pan and slide it onto a cutting board.
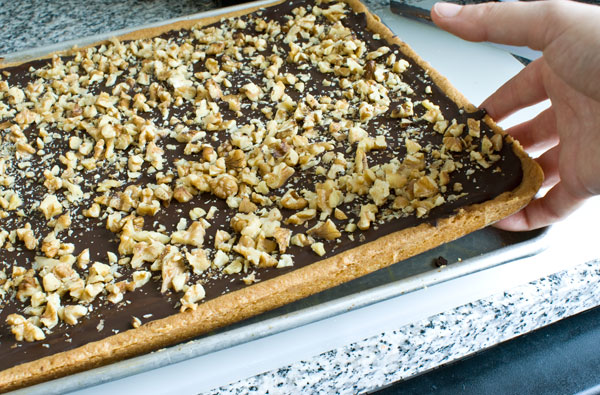
Grab a corner of the parchment from underneath the sheet of cookie and carefully peel it off.
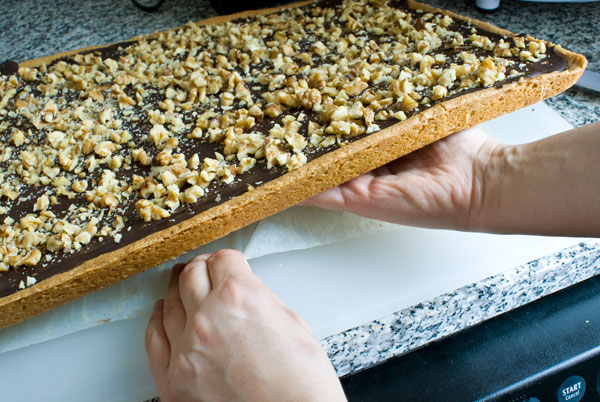
11. Slice! It’s best to use a serrated knife. Use a back and forth sawing motion, rather than pressing the knife downward. First vertical slices…
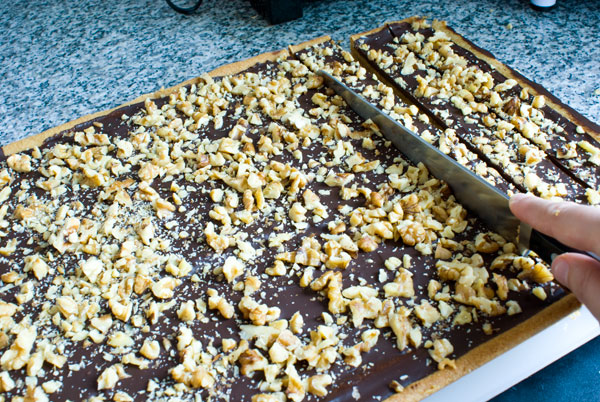
…then horizontal slices.
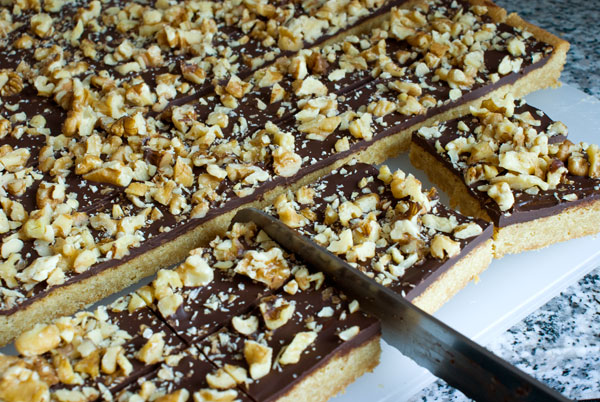
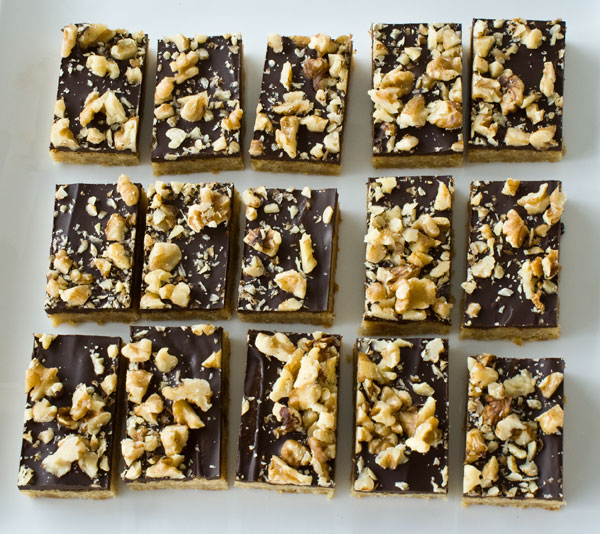
There you have it.

These can be kept wrapped in the fridge for up to 4 days, but they taste best at room temperature.
Go make yourself popular.
Chocolate Walnut Toffee Bars
Makes one 18 x 13 sheet pan which can be cut into whatever sized bar cookie you want. I got about 60 mini bars out of it.
4 sticks (453 g) unsalted butter
1 box (453 g) light brown sugar
2 egg yolks
4 cups (560 g) all purpose flour
1 lb (453 g) dark chocolate, chopped fine
2 cups (280 g) chopped walnuts
1. Preheat the oven to 350 degrees F.
2. Using a tabletop or a handheld mixer cream the butter and brown sugar on medium speed until smooth. We’re not trying to beat air into it, just to get it smooth. (You can even do this recipe with a bowl and a spatula, like our ancestors, who we know gobbled endless toffee bars.) Scrape the sides and bottom of the bowl for better incorporation.
3. Mix in both yolks.
4. Then on slow speed, mix in the flour. The batter will be somewhat stiff.
5. Turn this batter out onto a parchment-lined baking sheet.
6. Press the batter to the edges of the sheet pan and then smooth it out with an offset spatula for an even thickness.
7. Bake until it turns an even, golden brown color, about 25-30 minutes.
8. Immediately after it comes out of the oven, sprinkle the chocolate over the top.
9. TURN OFF THE OVEN and slide the sheet pan into the turned off oven for exactly 3 minutes. The residual heat will melt the chocolate.
10. Pull the sheet pan out. Chocolate tends to retain its shape even when it’s melted. Smooth out the top and you’ll see that it is, indeed, melted.
11. Sprinkle the whole surface with a generous coating of nuts.
12. Refrigerate this tray until it’s cooled and the chocolate has hardened, about 1 hour.
13. Run a knife around the perimeter of the sheetpan to loosen the cookie block. Gently pry the block out and slide it onto a cutting board.
14. Grab a corner of the parchment from underneath the sheet of cookie and carefully peel it off.
15. Slice! It’s best to use a serrated knife. Use a back and forth sawing motion, rather than pressing the knife downward. First cut vertical slices, then horizontal slices.
Go make yourself popular.
18 Responses to “Chocolate Walnut Toffee Bars”
ABOUT ME
![]() I had a career going in advertising when one day I got the crazy idea to start over and become a pastry chef. Now I'll show you what I learned working in fine dining restaurants all over NYC right here with step-by-step photos. So grab your rolling pin and join in.
I had a career going in advertising when one day I got the crazy idea to start over and become a pastry chef. Now I'll show you what I learned working in fine dining restaurants all over NYC right here with step-by-step photos. So grab your rolling pin and join in.


Funny story. That’s a great idea by the way, the clothes swap. This sure does look good. I know I would have been distracted if munching on a piece – or two!
Oh wow these are amazing!!! Thank you so much for the step by step. Love the new additions!
I go through too much parchement too…so much so I had thought of starting my own plant. Not really but I feel your pain with it. Great idea buying in bulk! Thanks!
I love your sharing of favorite items and their links! I have a question – do you buy chocolate in blocks or in discs and is there a difference in how they are used? I guess I associate the disks with candy-making chocolate that I’ve seen in candy supply stores, but then I saw callebaut chocolate sold in disks on Amazon. Maybe you could provide us with a proper lesson on chocolate!
Also, I buy sheets of parchment from our grocery’s bakery department for 10 cents a full sheet. That may be another option for those who don’t like rolls, but don’t go through as many as you do.
Hi Deanna, Nice to “see” you again. There is usually no difference between blocks and disks. My favorite brand, Valrhona has the same chocolate products in either disks or blocks. The disks make it easy to pour out some chocolate into a bowl and melt it without having to chop it up. I guess you can call it a convenience food 🙂 It also costs more per pound, just like convenience foods.I’ll buy either type depending on what’s around and the price. I’ll definitely post more about chocolate in the future. Great idea about buying sheets from the bakery department. I never thought of that!
I totally agree with the first sentence and the bars just look so so super delicous.
wow! so easy and it looks sooo good!
You have such a way with words, and desserts and photos. nice work as always Irina. I’ve always wanted to try one of those swap parties. They seem like such a good idea.
I agree with your thoughts on chocolate and clothes! Those bars look heavenly!
Thank U for the wonderful and visually captivating pictures – it has given me the courage to go back to baking.
Loved the clothes swap excitement – genius bribing with toffee bars! I really liked your step by step on how to make these sinfull delicious bars, all the photos are stunning 🙂
go get ’em, girlfriend. your combination of hard information, great photos, and arresting stories gonna take you a long, long way. xo el
They can be refrigerated for up to 4 days? In my house, those would last ONE DAY! Hah. They look scrumptious. I wish I could bite into one right now.
What a fun post! These bars look great and would have distracted me for at least 10 minutes!
These are SO DELICIOUS, I can attest to that! And for those who mentioned it, hosting the swap party was fun and not very difficult! This is the site I based mine on and basically how I did it: http://recyclingweek.planetark.org/involvement/swap.cfm
Those look really good. A good toffee bar is a wonderful thing.
Sorry, but my husband said “these are kinda dull”. The recipe needs salt. A walnut chocolate chip cookie would be a better use of time and ingredients.
Hilarious story! Excellent recipe!! Can’t wait to try this out!
Ohh…
You are really good to make these “step by step” recipes. I made these bars today, and they tasted very good. On your website, i always find something interesting, easy and tasty. Tried your macarons too. Downloaded them some days ago. I made them with cocoa powder as flavouring, and as filling i used “vanilla cream”. (I do not know if you have it in the US.) That tasted really good. They cracked on the top, but i read the troubleshooting, and will try to follow tips next time.
MTD (sorry my english is not perfect, I am Norwegian)